") Worldwide (English)
Worldwide (English)") Türkiye (Türkçe)
Türkiye (Türkçe) Welcome to the Usage Guide
Shared Server Settings
By defining a large number of shared servers on WISECP, you can sell shared hosting service and virtual server service.
To do this, you need to:
- Go to Admin Area > Services > Hosting Management > Server Settings
- Click on the button Add new server
On the page that opens, define the following fields to be correct and valid.
- Hostname
A name that identifies your shared server. It is usually the name given in the form of server1.example.com. - Name Server Adress
is the NS information for your shared server. You must define the NS information linked to your server. Otherwise, you will encounter an error message. - Maximum Number of Accounts
Define the maximum number of accounts to be created on the server. Accounts will no longer be created on the server that has reached the maximum number of accounts. - Occupancy Alert
When the maximum number of accounts is reached, a warning notification is displayed in the admin area. - Monthly Cost
Define the total cost of all server related expenses. (Leasing, licensing, traffic and electricity expenses, etc.) - Server Automation Type
Select which infrastructure the shared server is on. For example: cPanel, Plesk, DirectAdmin etc. or any vmpanel. - IP Address
Identify the IP address of the shared server. - User name
Define User name defined for administrator access to the shared server. - Password
Define User password defined for administrator access to the shared server. - Connect with SSL
If you want to provide the connection type with SSL, tick the box. (Not mandatory.) - Port
Identify the port information used to access the shared server. - Test Connectivity
Please test the accuracy and validity of the information entered. You cannot add a server without the Test process "Success ".
Information Note:
If you are using a Reseller Hosting service, you can define the system as a shared server. Thus, you can make hosting sales through your reseller hosting account. However, some permissions must exist for your reseller account. Generally, these permissions are available as standard on the reseller accounts.
If you are using a Reseller Hosting service, you can define the system as a shared server. Thus, you can make hosting sales through your reseller hosting account. However, some permissions must exist for your reseller account. Generally, these permissions are available as standard on the reseller accounts.
Assigning A Server to Product Packages
For automatic activation and other automation functions to work, you must assign servers to hosting product packs or virtual server product packs after you create a shared server. To do this, follow the steps below.
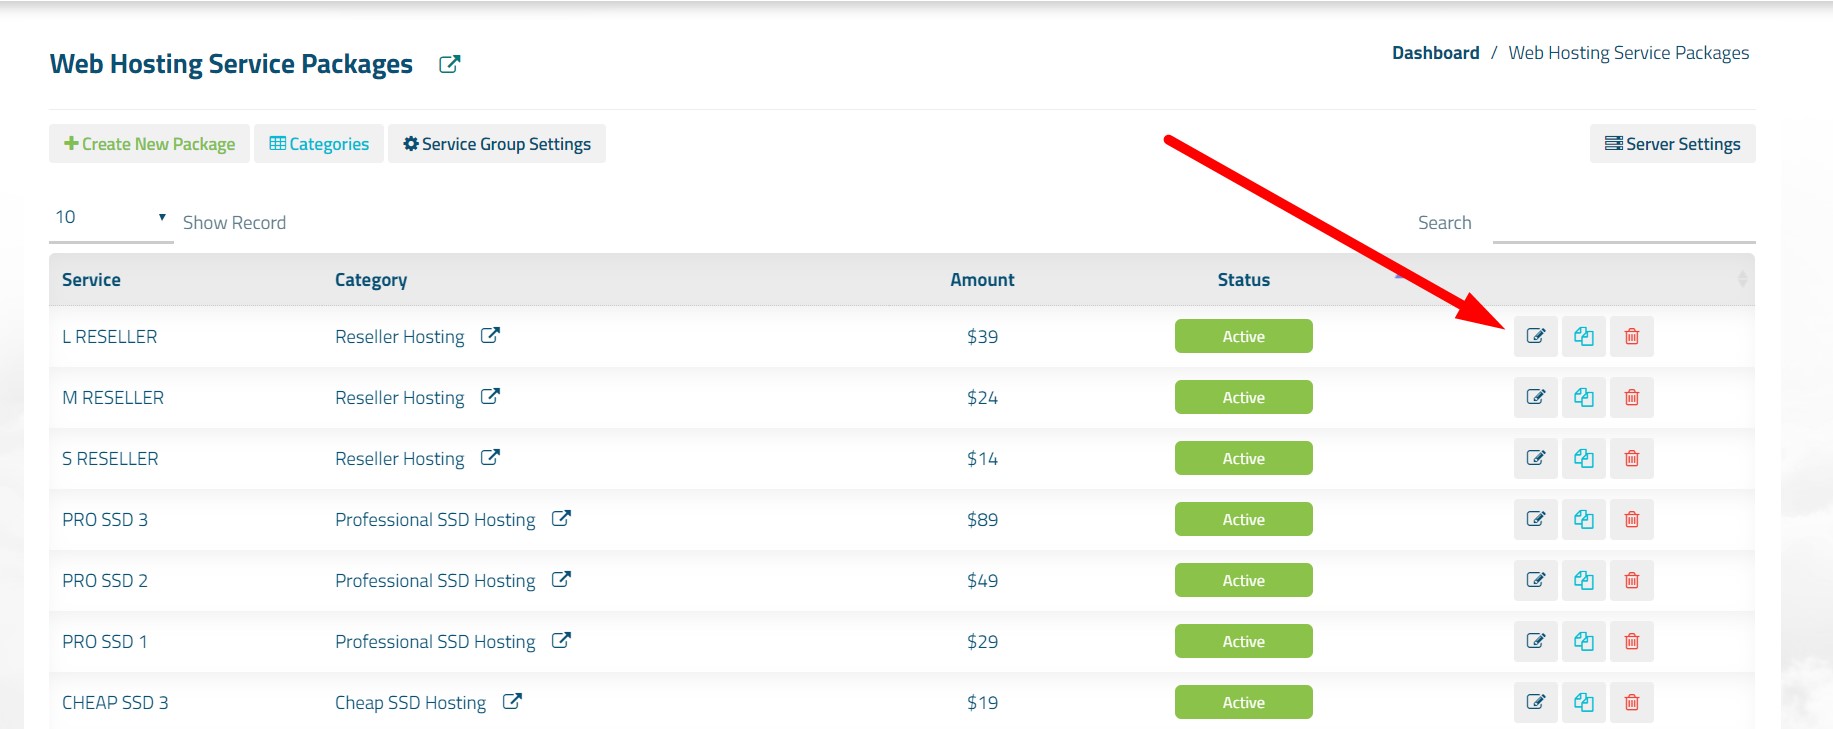
- Go to Admin Area > Services > Hosting Management > Hosting Packages (or Dedicated/VPS Packages)
- On the page that opens, click the edit button for any of the available product packages. If there is no existing package, click the "Create New Package" button.
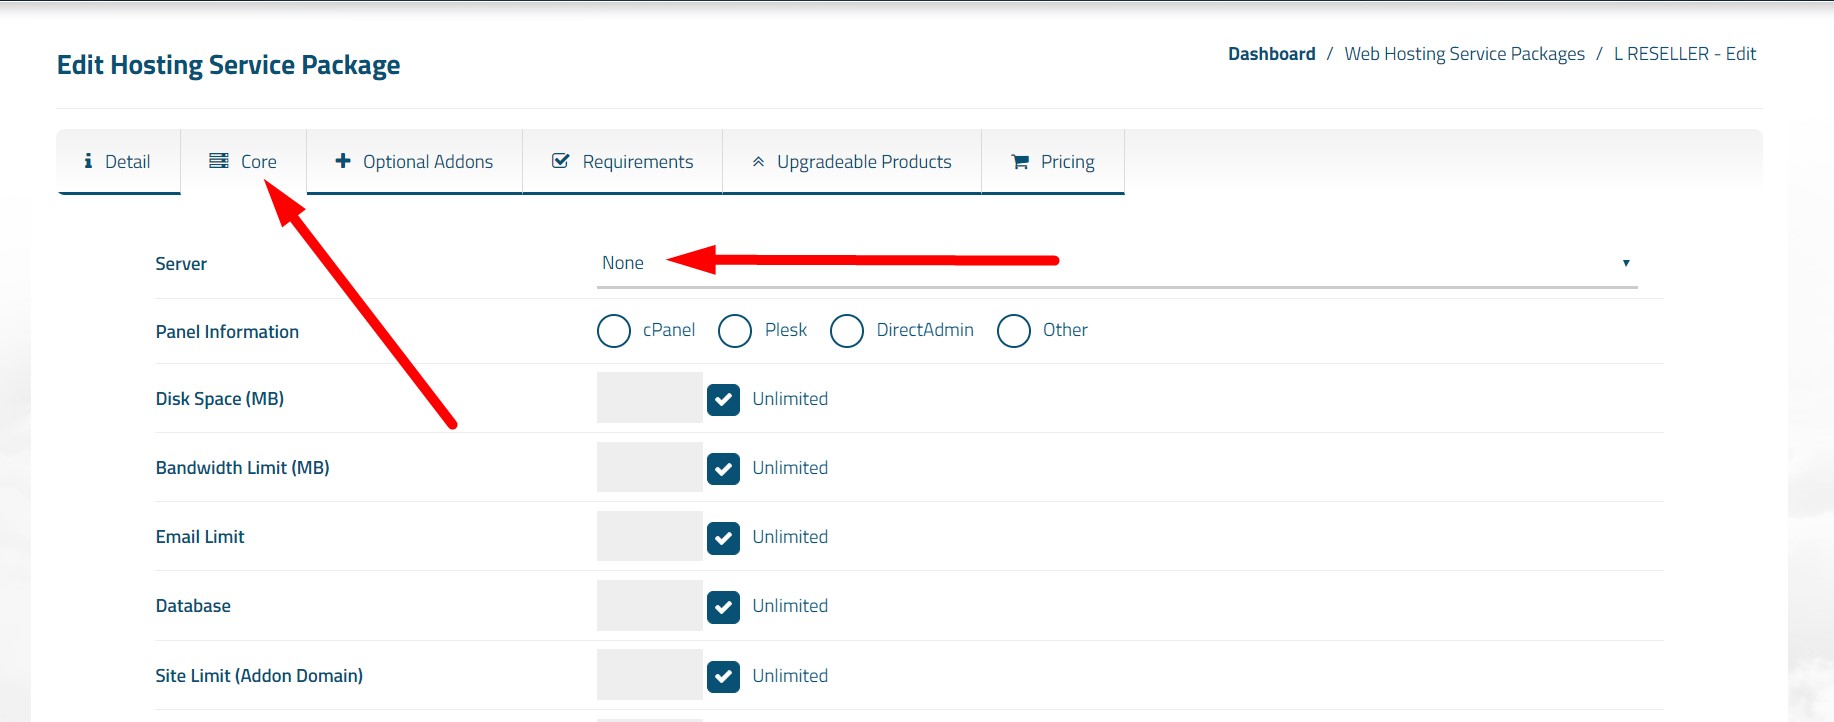
- On the page that opens, click the "Core" tab and define your server selection from the "Server" (or Master Server) field.
Import
You can easily import all hosting accounts on your shared server. Please review the helpful document provided in the link below.
