") Worldwide (English)
Worldwide (English)") Türkiye (Türkçe)
Türkiye (Türkçe) Welcome to the Usage Guide
Shared Server Grouping
If you have more than one shared server and you want your services to be distributed automatically and stably within these servers, you can create groups for your servers and set the service creation process on the servers within the group according to the type of distribution you want.
Creating a New Server Group
Follow the steps below to create a new server group.
- Follow the path "Services > Hosting Management > Server Settings" in your administration area.
- Click the "Server Groups" button in the upper left corner of the page that opens.
- On the page that opens, click the "Create New Group" button.
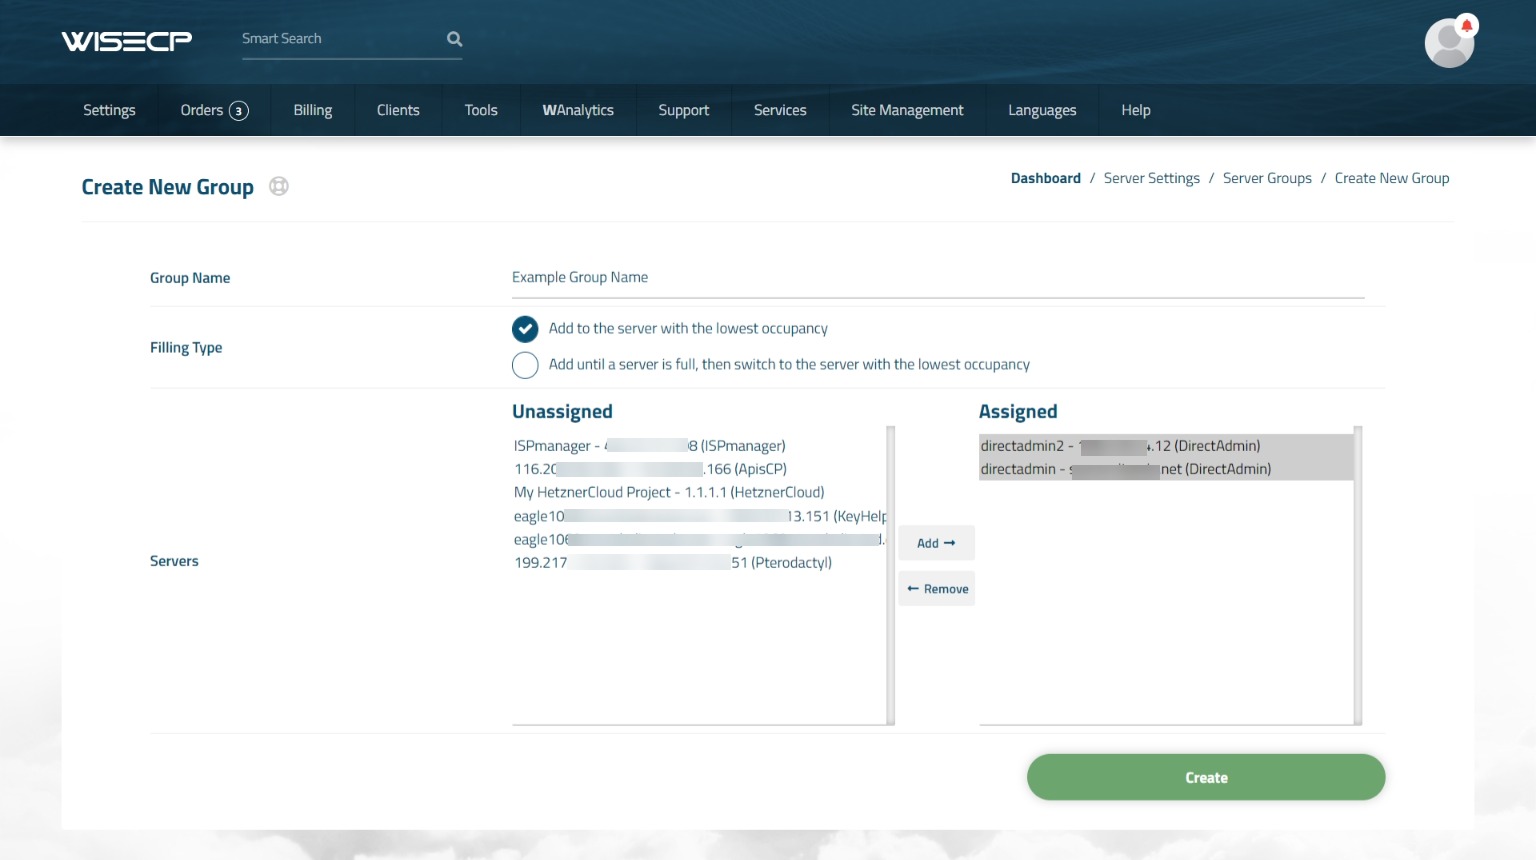
The next step includes some settings to create a server group and are explained in detail below:
- Group Name > Naming the server group.
- Filling Type > It is the method by which the services will be distributed on the servers within the group. There are two different methods. You should choose one according to your preference.
1) Add to the server with the lowest occupancy
2) Add until a server is full, then switch to the server with the lowest occupancy - Servers > Select the servers you want to include in the group. (You must have created a server before you can choose.)
Note: Only servers using the same automation module can be assigned to a server group.
You can create the server group by clicking the "Create" button at the bottom of the page.
Assigning Server Groups to Products
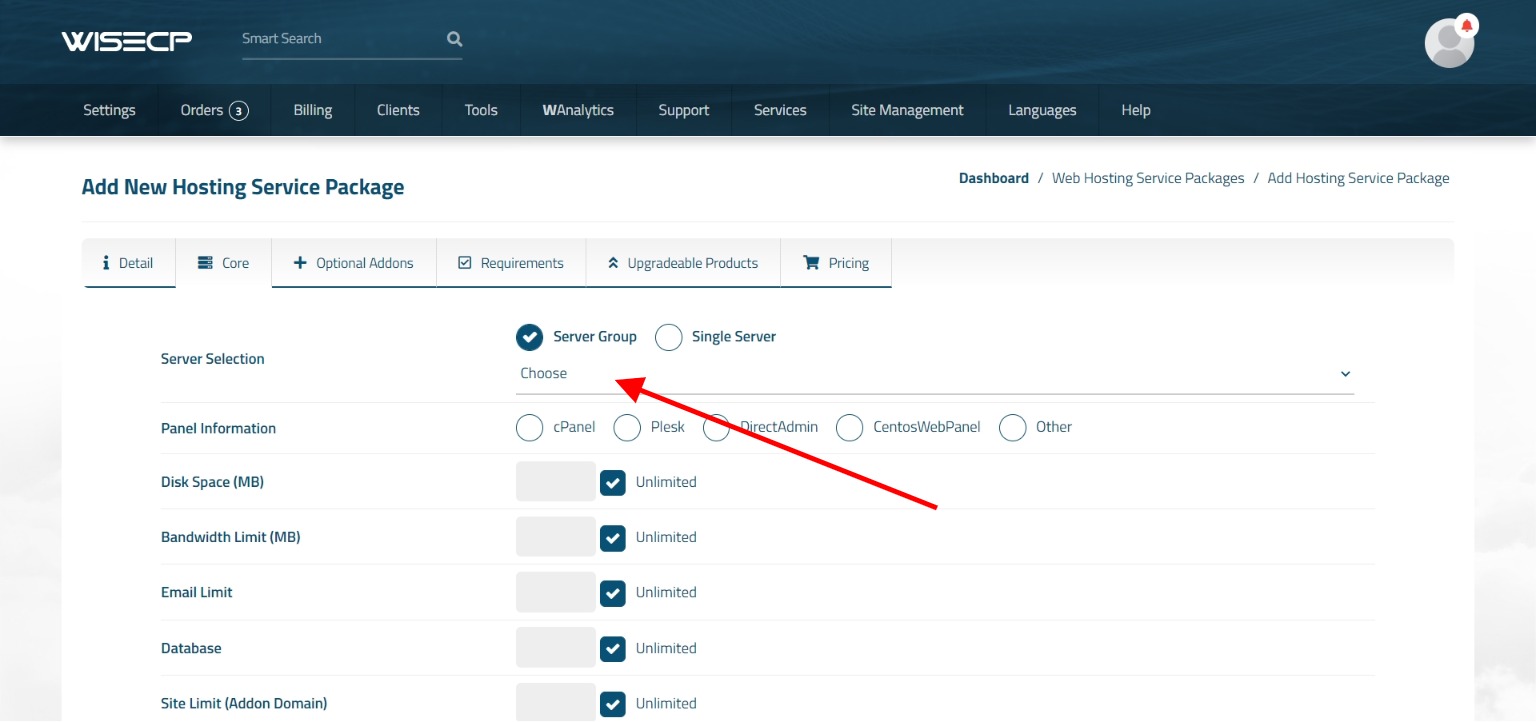
To associate the server groups you have created with a product package, go to the product package creation or editing stage.
Then click the "Core" tab. On the page that opens, select the "Server Group" radio button from the "Server Selection" field.
You can see and choose the server groups you have created before.